🤖 Summarize this article with AI:
💬 ChatGPT 🔍 Perplexity 💥 Claude 🐦 Grok 🔮 Google AI Mode
Automation testing is the process of using software tools to execute tests automatically on your application — comparing actual results to expected outcomes. Instead of manually clicking through your app every time you deploy, automation allows you to run tests in seconds, saving time and catching bugs early.
In this tutorial, you’ll learn how to create your first automated test using BugBug, a no-code end-to-end testing tool designed for beginners and small teams.
What You’ll Learn
- The difference between manual and automated testing
- How to record your first automated test with BugBug
- How to fix failed tests with “Record from here”
- Which features are worth automating firstHow to run and schedule your tests automatically in the cloud
Check also:
Manual Testing vs. Automated Testing
When developers change code, things can break. Manual testing means checking everything yourself — clicking every button, logging in and out, and making sure the app still works. It’s reliable but painfully slow.
Automation testing changes that.
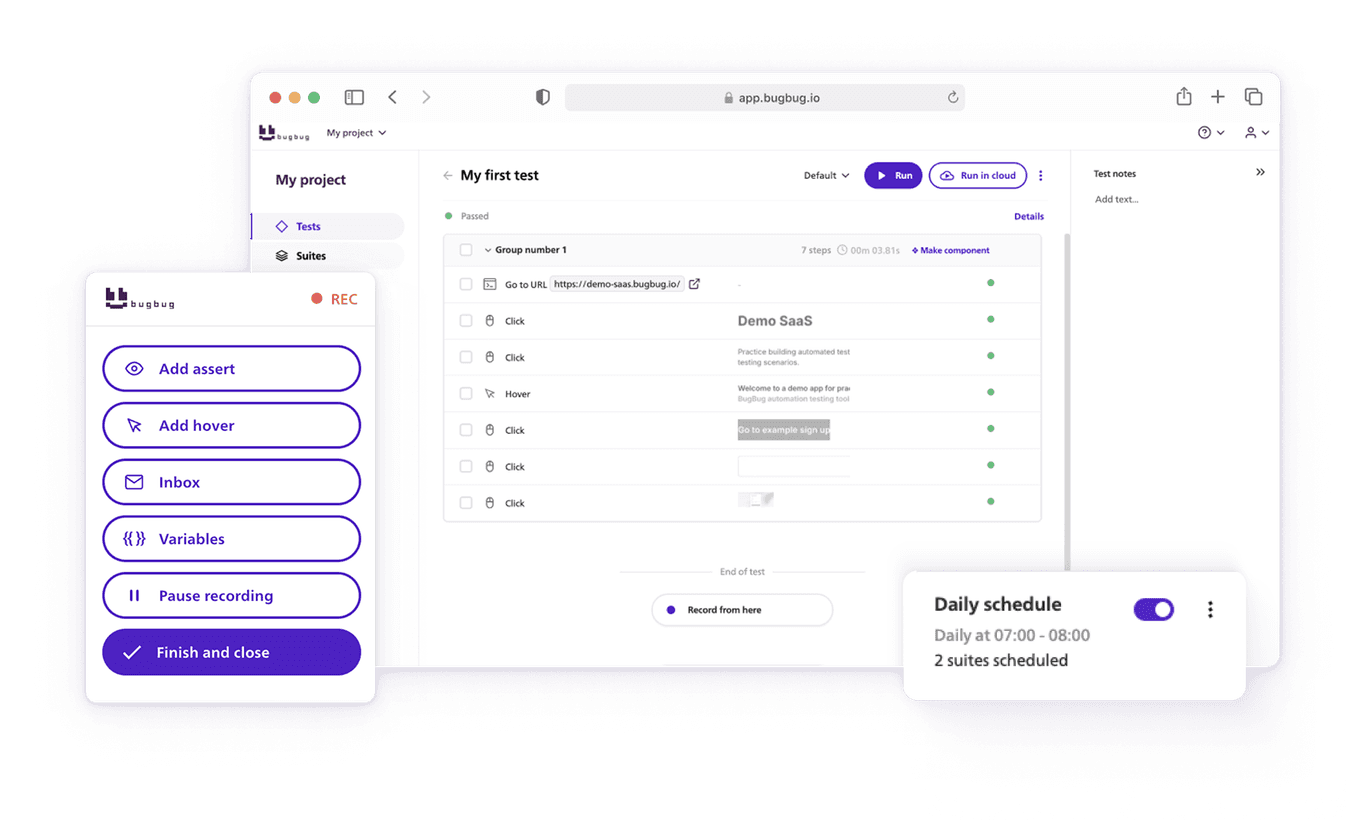
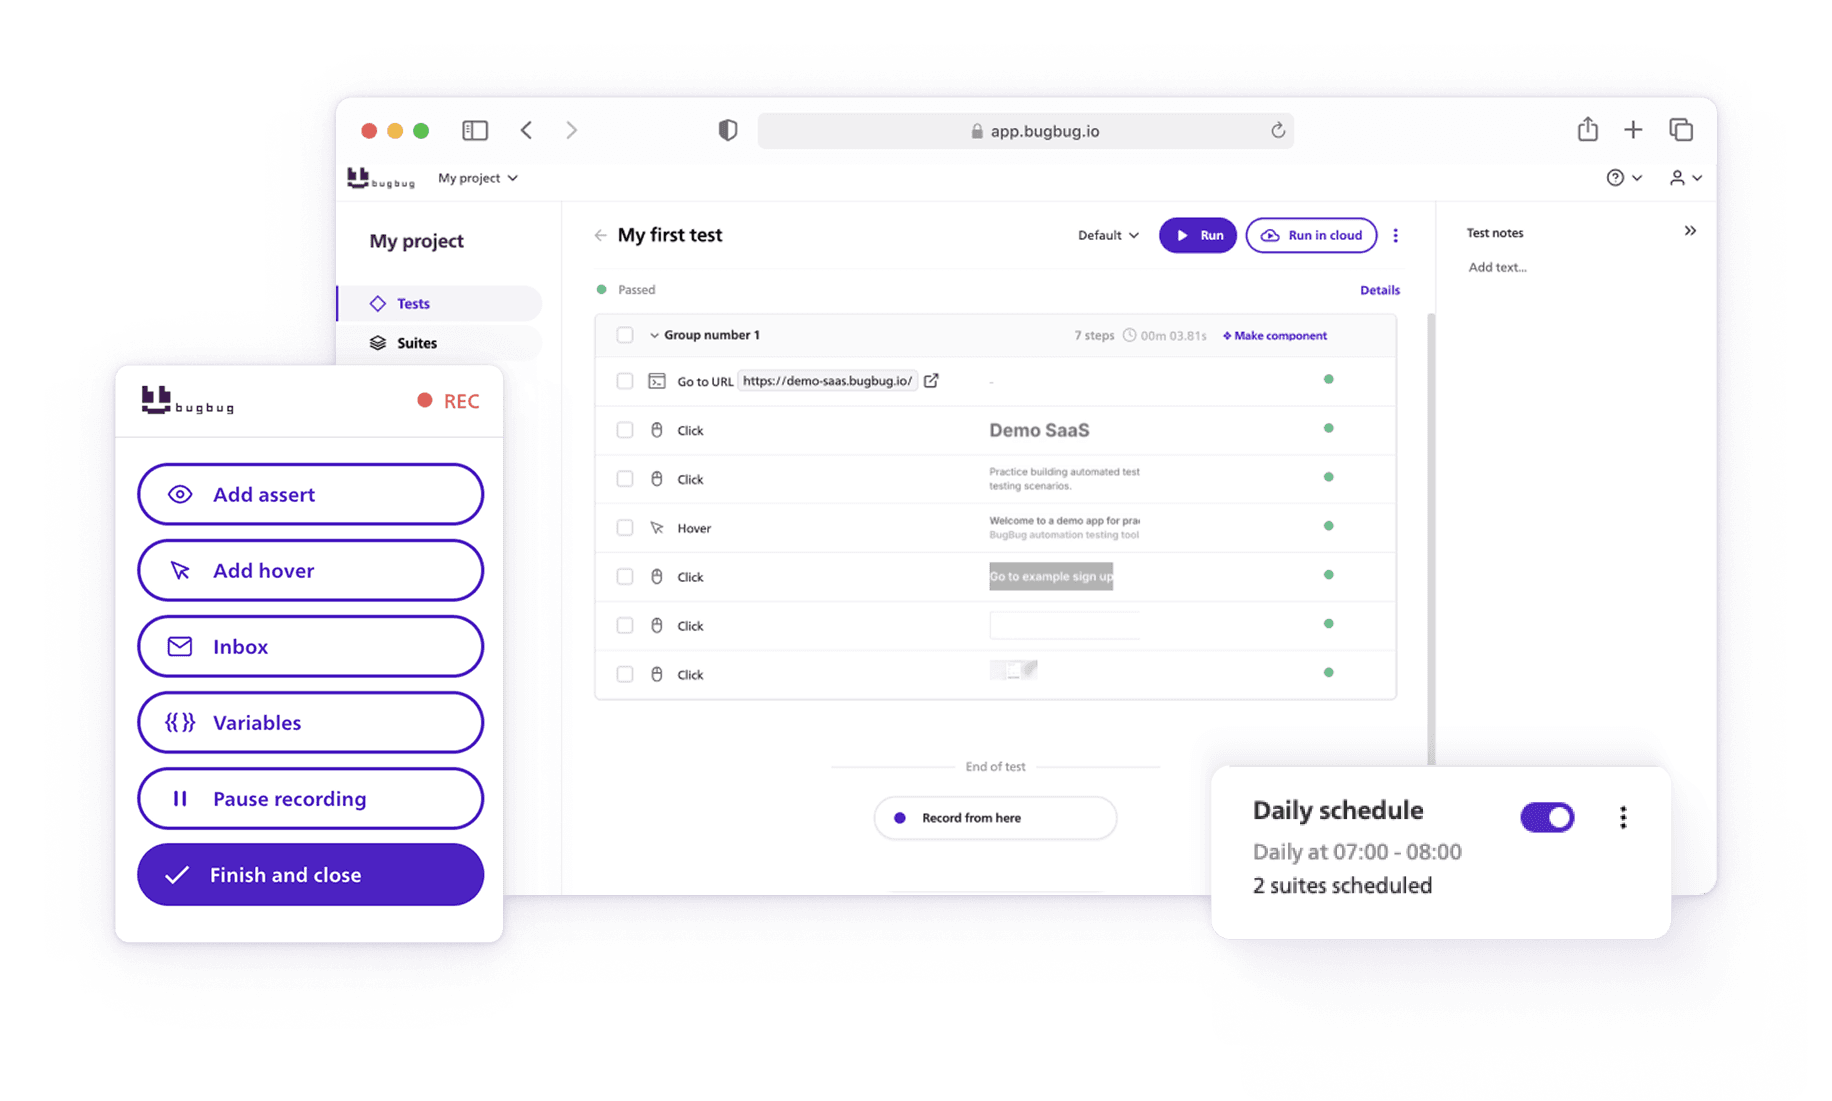
Instead of repeating the same actions manually, you teach the computer what to click. BugBug runs those same steps automatically, faster, and more consistently. You just click “Run Test” — and it handles the rest.
Step-by-Step: Create Your First Automated Test in BugBug
Let’s create a simple login test using React Admin Posters Galore — a demo app for learning automation testing.
Before you start:
-
Set up a free BugBug account
-
Install the BugBug Chrome extension
1. Create a New Project
- Click “Create Project” and name it Posters Galore.
- Enter the starting URL:
https://marmelab.com/react-admin-demo/
2. Create a New Test
- Click “Create Test” and name it Login.
- This test will check whether login functionality works — a type of functional test.
3. Start Recording
- Click “Start Recording”.
- BugBug will open your app in an incognito window (to ensure a clean state with no cache or cookies).
4. Record the Login Steps
- Enter demo in both login and password fields.
- Click “Sign in”.
- Move slowly — BugBug records every click and keystroke.
5. Add an Assertion
Assertions are checkpoints that verify expected outcomes.
After login, assert that the text “Welcome to the react admin e-commerce demo” is visible.
If it appears — the test passes. If not — the test fails.
6. Finish & Run the Test
- Click “Finish Recording.”
- Run the test to see BugBug repeat your actions automatically.
- If all steps turn green — you did it! 🎉
Fix a Failed Test Using “Record From Here”
Sometimes a test fails because something was missing — for example, a hover step wasn’t recorded. Here’s how to fix it:
- Go to your test and click “Edit and Rewind.”
- Choose “Record from here.”
- Re-record the missing action (like hovering over a dropdown).
- Save and re-run the test.
BugBug will append the missing step, keeping your test clean and maintainable.
💡 Pro tip: This feature saves tons of time compared to starting over from scratch.
What Should You Automate?
You can’t (and shouldn’t) test everything. Focus on business-critical paths — the features that, if broken, directly impact your users.
| Feature | If It Breaks | Critical? |
| Login | Users can’t access the app | ✅ Yes |
| Registration | New users can’t sign up | ✅ Yes |
| Homepage | Visitors can’t navigate | ✅ Yes |
| Password reset | Only affects a few users | ⚠️ No |
| Obscure settings | Nobody notices | ❌ No |
Start by automating 5–15 essential tests. Once you’re confident, expand your coverage.
How Many Steps Should a Test Have?
Shorter tests are easier to maintain.
If a test takes 10 minutes to run and fails at the end, you waste time re-running it. Instead, split long tests into smaller, independent ones.
Example:
❌ Too long test:
- Visit homepage
- Click “Features”
- Assert features
- Click “Contact”
- Assert contact info
✅ Better approach:
- Test 1: Homepage → Features
- Test 2: Homepage → Contact
Each test should be atomic — independent and self-contained.
What Not to Automate (Yet)
Some scenarios are difficult or unstable to automate, especially for beginners:
- User registration (email uniqueness)
- Multi-user collaboration
- Dynamic content (search results, exchange rates)
- File downloads
- Date or calendar-based tests
- Multi-language UI
Focus first on static, predictable flows before tackling these advanced cases.
Organizing Tests into Suites
As your test collection grows, group them into suites — sets of tests that can be run together.
By default, BugBug provides an “All tests” suite, but later you can create specialized ones (e.g., “Smoke Tests,” “Regression Tests,” or “Staging Environment”).
Run Tests in the Cloud
You don’t need to block your computer to run tests. BugBug lets you run tests in the cloud — remotely, on BugBug’s servers.
Just go to Suites → All tests → Run in cloud.
You can even schedule tests to run automatically at night or every hour, and get notified if something breaks.
Take Automation to the Next Level
Congratulations — you’ve automated your first test! 🎉
With BugBug, you can go far beyond simple login checks:
- Run full regression test suites
- Integrate with CI/CD pipelines
- Schedule cloud runs and get alerts
- Debug with “Edit & Rewind” and “Breakpoints”