Hey there, welcome back to our blog series on making website testing a breeze with BugBug! Each week, we're diving into how you can rock-test automation and seriously up your website game.
Let's get real about website testing - it's not just another item on your to-do list. It's your secret weapon to make sure your site is doing exactly what it needs to do. From making sure it works like a charm on all required devices and browsers to keeping things speedy and secure, we've got you covered.
This week, we're zooming in on something super crucial for all you e-commerce heroes out there - testing product discovery and display. Trust us, getting this right can make a massive difference in turning browsers into buyers. Stick around as we unpack why this is a game-changer for your online shop!
Automate your tests for free
Test easier than ever with BugBug test recorder. Faster than coding. Free forever.
Get started
Why You Should Do Ecommerce Optimization?
Website testing plays a crucial role in performance benchmarking by providing the framework and tools needed to measure, evaluate, and enhance a website's various performance aspects. Through systematic testing, businesses can collect data on their website's current performance, identify areas for improvement, and implement changes that lead to better user experiences and increased efficiency.
-
Boost Those Buys: Clear info and straightforward finds? That's the recipe for getting more folks to hit 'purchase.' Give them the deets—pics, prices, the works—and they're more likely to buy.
-
Less Returns, More Wins: Sharp photos and spot-on product descriptions mean customers know exactly what they're getting. This clarity cuts back on returns, saving you time and money.
-
Search and Filter Like a Pro: With the right search and filtering tools, shoppers can easily sift through your vast product ocean without feeling swamped. It's essential for keeping things manageable and shopper-friendly.
-
Stay Sharp and Ahead: Regularly testing your site not only helps you keep tabs on how things are running but also lets you spot areas for improvement. It's all about staying ahead of the game and ensuring your e-commerce platform is top-notch.
How to Test Your E-Commerce Site: A Step-by-Step Guide
If you just getting to know test automation, it's worth to check out Beignners tutorial to automation testing, where you can find all needed information to create your first test with BugBug.
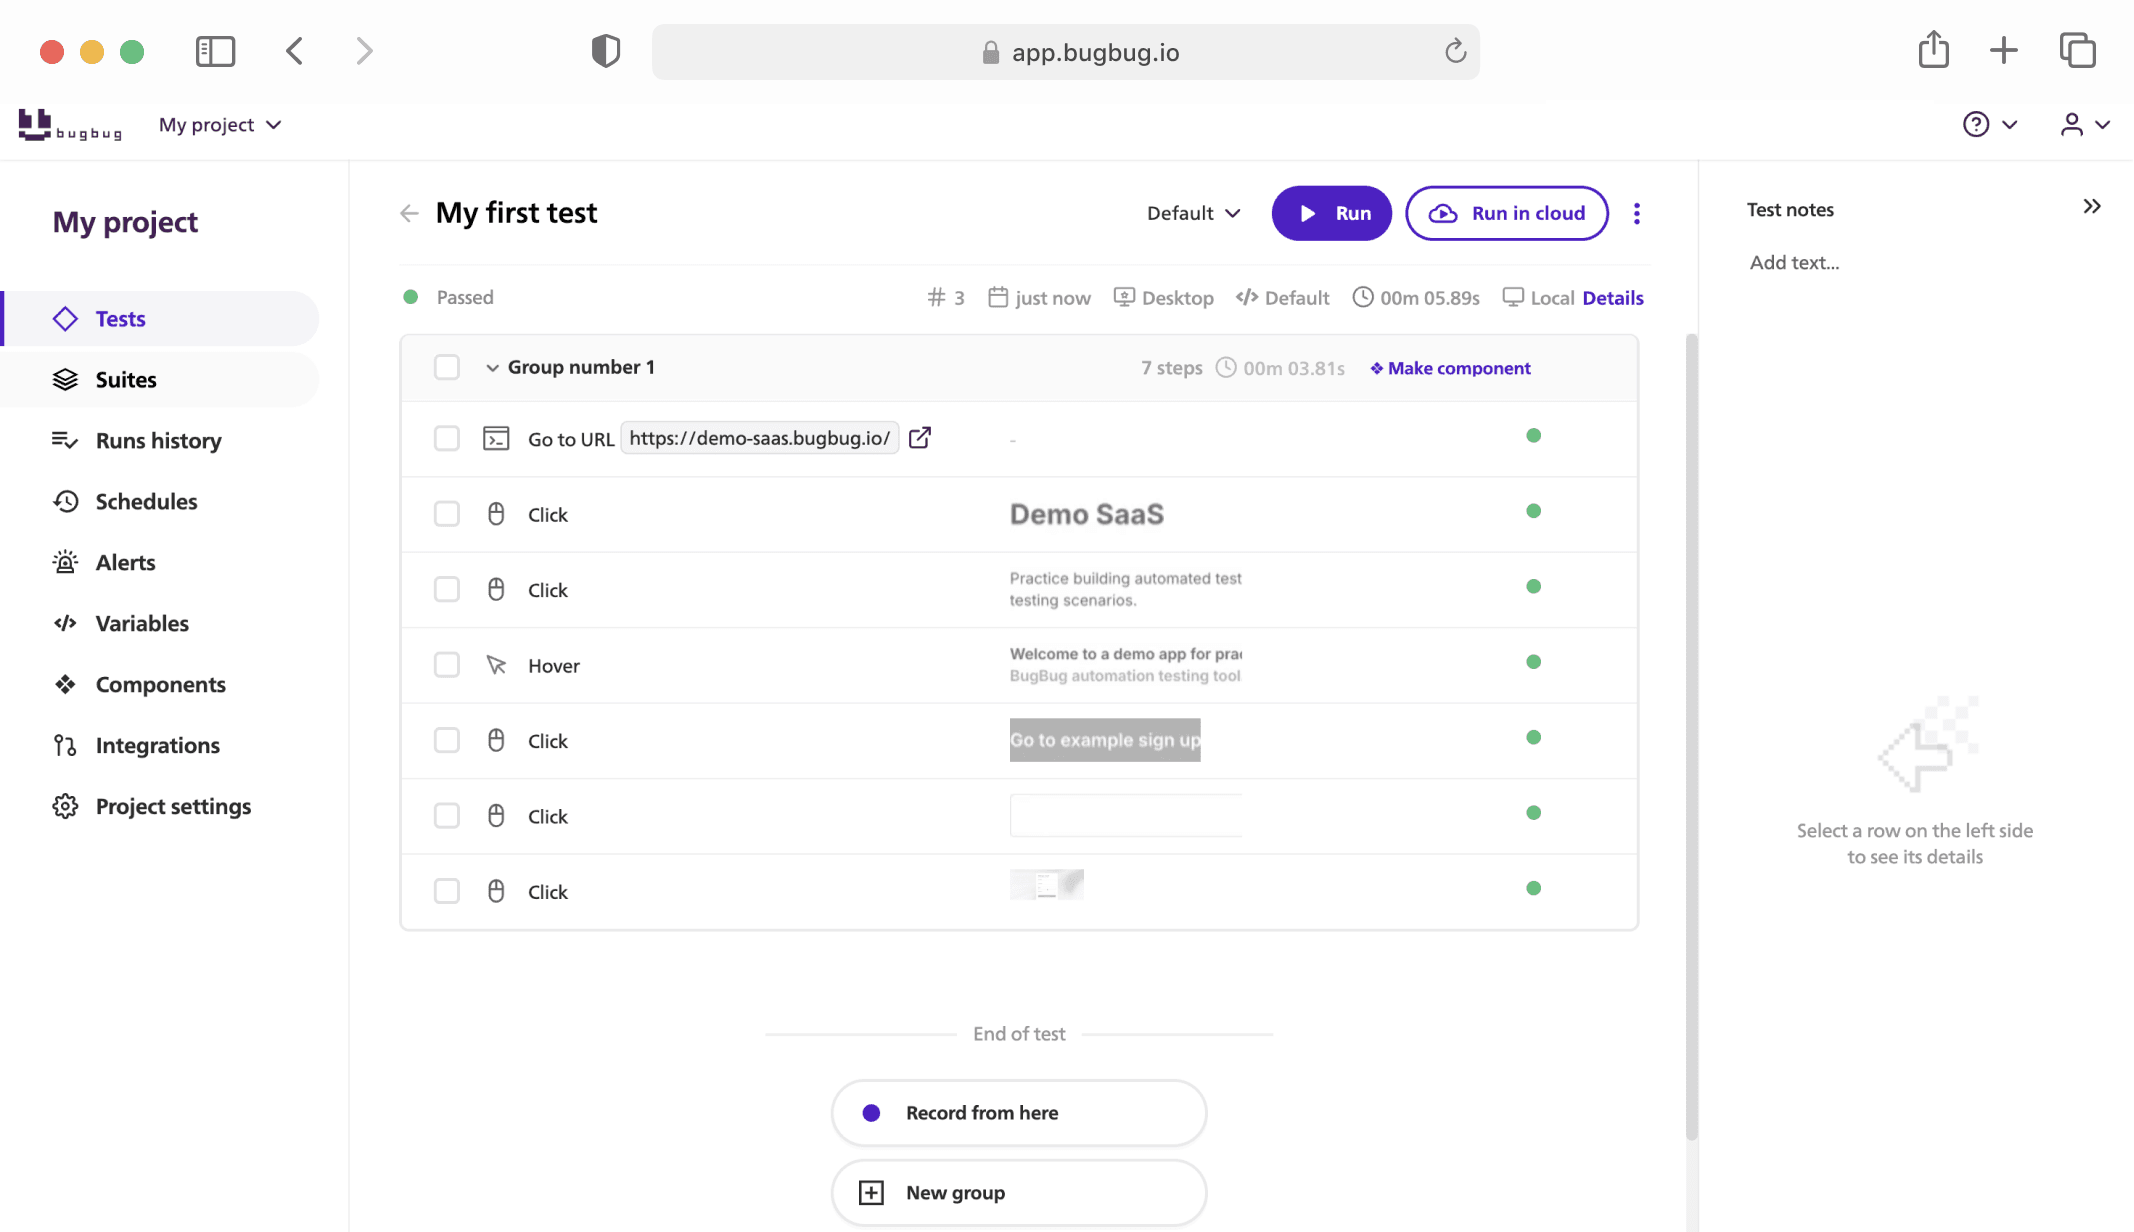
Testing your e-commerce site, especially for detailed functionalities like navigation, product categories, filtering options, product details, and image galleries, is crucial to providing a seamless user experience. Here’s a guide on how to execute an automated test script using the Reserved clothing store website as an example.
Step 1: Navigation and Product Category Verification
- Access the Website: Start by opening the Reserved website. This is your starting point for the navigation test.
- Select a Product Category: For instance, choose the Men's section to test. This step simulates a user's action in selecting a specific product category.
- Verify Navigation: Ensure the page navigates to the Men's section by checking if the text "Men" is visible on the page.
- Check URL Consistency: Confirm that the browser's URL matches the expected URL for the Men's section, ensuring you're on the correct page.
- Main Frame Context Switching: If necessary, switch the test context to the main frame to interact with page elements correctly.
- Hover Actions: Hover over a site element, likely within the Men's section, to activate any dropdown menus or additional navigational elements.
- Subcategory Verification: Assert the presence of specific subcategories, like 'Clothes', and further verify listed items such as 'Coats and Jackets'.
Step 2: Using Filtering Options and Verifying Results
- Activate Filters: Test the filtering feature by selecting an option, such as size 'L', and confirm that the filter applies correctly.
- Verify Filter Application: Check that the text and options visible post-filter application reflect the selected filters, ensuring the product list updates accordingly.
Step 3: Verify Product Detail Page Displays All Necessary Information
- Navigate to a Product Detail Page: Click on a specific product, such as a hooded jacket, to view its details.
- Detail Verification: Confirm the accuracy of essential details like price, color, size, and the presence of an "Add to bag" button.
- Description and Navigation: Verify the product description and breadcrumb trail for efficient user navigation.
Step 4: Test Image Gallery on Product Detail Page for Quality/Navigation
- Interact with the Image Gallery: Click through the product image gallery to start the test.
- Visibility Checks: Assert that each clicked image is visible and that users can smoothly navigate through the gallery.
Automate your tests for free
Test easier than ever with BugBug test recorder. Faster than coding. Free forever.
Get started
Wrap-Up
By sticking to this guide, you're doing more than just checking boxes; you're fine-tuning the core elements of your site to ensure they're not just working, but working well for your users. Regular testing as we've laid out helps you spot and fix any snags before they trip up your visitors, keeping your site running smoothly and effectively.
The aim is clear: to craft a website that's as welcoming and spot-on as possible for everyone who drops by. So, dive into these tests with diligence and care.
Check also our first article from the series: Website Testing Guide - How to Test Homepage and Navigation?
Happy (automated) testing!


