Bug Life Cycle in Software Testing
Written byDominik SzahidewiczReviewed byMariusz Wójcik


Updated: October 27, 2026View as Markdown
A bug life cycle, also known as a defect life cycle, refers to the various stages that a bug or defect goes through during the software testing process. This life cycle of a bug tracks its journey from discovery to resolution, detailing each phase to ensure that no issue goes unresolved. Each stage involves a specific state that represents the current status or progress of the bug.
Check also:
When a bug occurs, it is initially posted by the tester in a bug tracking tool like Jira, where details such as the issue description, steps to reproduce, environment details, and the "expected behavior" (if known to the person reporting the bug or linked to a specific requirement) are logged.
The bug is then assigned to the developer, who is responsible for investigating and fixing it. During this time, the development team members work closely with testers to resolve the defect. As the defect moves through different states throughout its lifecycle, it may be marked as "not a bug" if it is determined that the issue is not an actual defect but a misunderstanding of the requirements.
However, if it is a valid bug, the goal is to get it fixed.

The exact names can vary, but this is a practical software defect workflow.
| Status | Who usually sets it? | What triggers it? | Typical next step |
|---|---|---|---|
| New | Tester / reporter | New defect submitted | Triage / Assigned |
| Assigned | Lead / triage owner | Owner selected | Open |
| Open | Developer | Investigation begins | Fixed / Rejected / Need Info |
| Fixed | Developer | Code change completed | Pending Retest |
| Pending Retest | Developer / workflow | Fix ready for QA | Retest |
| Retest | Tester | Tester verifies fix | Verified / Reopened |
| Verified | Tester | Fix works as expected | Closed |
| Closed | Tester / lead | Resolution accepted | End |
| Reopened | Tester | Defect still exists | Assigned / Open |
| Deferred | Product / triage | Fix postponed | Future release |
| Rejected | Developer / triage | Report isn't accepted as defect | Closed / discussion |
| Duplicate | Triage owner | Same issue already exists | Link to original |
| Not a Bug | Product / dev / QA | Behavior matches requirement | Closed |
| Non-Reproducible | Dev / QA | Team can't reproduce issue | Need info / Closed |
| Need More Information | Dev / QA | Report lacks evidence | Reporter updates issue |
These aren't universal Jira statuses. They're common states teams use to express the underlying process.
Let’s explore the different stages of the bug life cycle in testing:
When a tester discovers a defect during the testing phase, they log it into a bug tracking system like Jira. At this point, the defect is in the "New" state, awaiting review. Essential information such as environment details, the test case that failed, and steps to reproduce the defect are included in the bug report.
Once the defect is posted, it gets assigned to the development team. The project manager or lead developer reviews the bug and assigns it to a team member for resolution. The status is changed from "New" to "Assigned."
The developer starts working on the defect, changing the status to "Open." At this stage, the developer will investigate the bug and determine the necessary code changes to fix it.
When the developer fixes the bug, the status is updated to "Fixed." The necessary changes are made, and the bug is ready for further testing. It does not mean QA has confirmed the correction. That's why Fixed and Closed shouldn't be treated as synonyms.
After the bug is marked "Fixed," it is sent back to the tester for testing. The tester checks whether the defect was truly fixed by executing the relevant test cases again. The bug is now in the "Pending Retest" stage.
In this stage, the tester re-tests the bug using manual or test automation techniques to verify if the bug is resolved. If the test case passes, the bug can move to the next stage. The team may also run relevant regression testing around adjacent behavior because a fix can introduce new problems elsewhere.
If the bug is fixed and the test case no longer fails, the tester changes the status to "Verified." This confirms that the issue is no longer present in the software.
Once the bug is "Verified," it is marked as "Closed," signifying that the bug is resolved. Closure means the team considers the issue resolved and no further work is expected under that defect record.
While the main stages define the general flow, there are other statuses that a bug can assume during its life cycle:
Bug triage is the process of reviewing and prioritizing bugs. During triage, bugs are assigned a priority level based on their severity and impact on the software product. The testing team and project managers often decide whether to resolve the bug immediately or defer it for a future release.
These terms describe three different things.
Status tells you where the defect currently is in its workflow.
Severity describes how badly the defect affects the software.
Priority describes how urgently the team wants it fixed.
| Severity | Meaning | Example |
|---|---|---|
| Critical | System or critical business flow unusable | All payments fail |
| High | Major functionality broken with serious impact | Users can't reset passwords |
| Medium | Function impaired but workaround exists | Export fails for one format |
| Low | Limited functional/cosmetic impact | Misaligned icon |
| Priority | Meaning | Typical action |
|---|---|---|
| P0 | Immediate response | Stop release / emergency fix |
| P1 | Fix very soon | Current release or sprint |
| P2 | Normal planned fix | Prioritized backlog |
| P3 | Low urgency | Fix when capacity allows |
Severity and priority often correlate, but not always.
Consider a cosmetic typo in the primary homepage headline two hours before a major product launch. Its technical severity is low. Nothing stops working. Its business priority may still be P0 because millions of visitors are about to see it.
The reverse can happen too. A technically severe failure in an obsolete internal feature used once per year may receive lower product priority than a widespread moderate defect affecting checkout conversion.
Separating the two fields makes triage clearer.
Tools like Jira, Bugzilla, and others play a vital role in the bug life cycle. These bug tracking systems help testers and developers stay updated on the status of bugs, track progress, and ensure no defects fall through the cracks. By using these tools, teams can easily check the current state or progress of any bug in the system.
A Jira bug life cycle is implemented as a workflow made of statuses and transitions rather than one mandatory Jira-specific sequence.
Atlassian defines a workflow as the path a work item follows from creation to completion. Statuses describe where the item currently sits, while transitions define which moves are possible between statuses.
A simple Jira bug workflow could be:
To Do → In Progress → Ready for QA → QA → Done
A more explicit defect workflow could use:
New → Assigned → Open → Fixed → Retest → Closed
with transitions back to Reopened when verification fails.
Jira also distinguishes status from resolution.
A ticket can sit in a Done-category status, but its Resolution field is what records why the work is considered complete. Typical defect resolutions might include:
This distinction matters because Jira reporting relies on Resolution for several completed-item calculations.
Atlassian also notes that transitions are directional. If a bug can move from Retest → Reopened and then later return to Retest, both paths need to exist in the workflow.
Official reference: Atlassian: What are Jira workflows?
Automation plays a crucial role in enhancing the efficiency of the bug tracking process, particularly when managing multiple defects or bugs throughout the life cycle stages. When a bug is identified and the defect is assigned to a developer, the software tester can rely on automated tools to ensure swift verification. Automation doesn't manage the bug life cycle for you. It can reduce the time between Fixed and useful verification.
Suppose a bug affected the login flow. After the developer deploys the fix to staging, an automated regression suite can immediately rerun:
This can expose a regression before a tester begins a full manual pass.
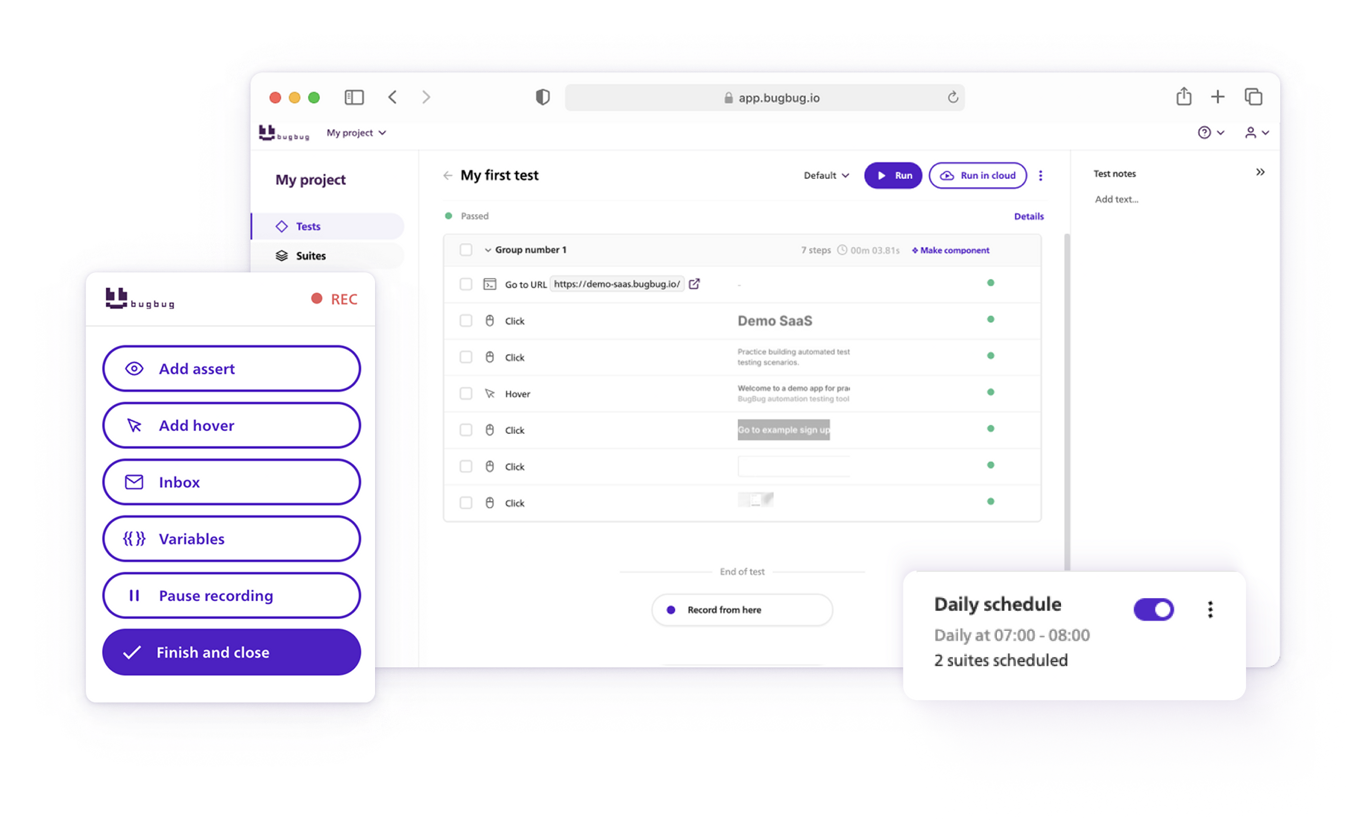
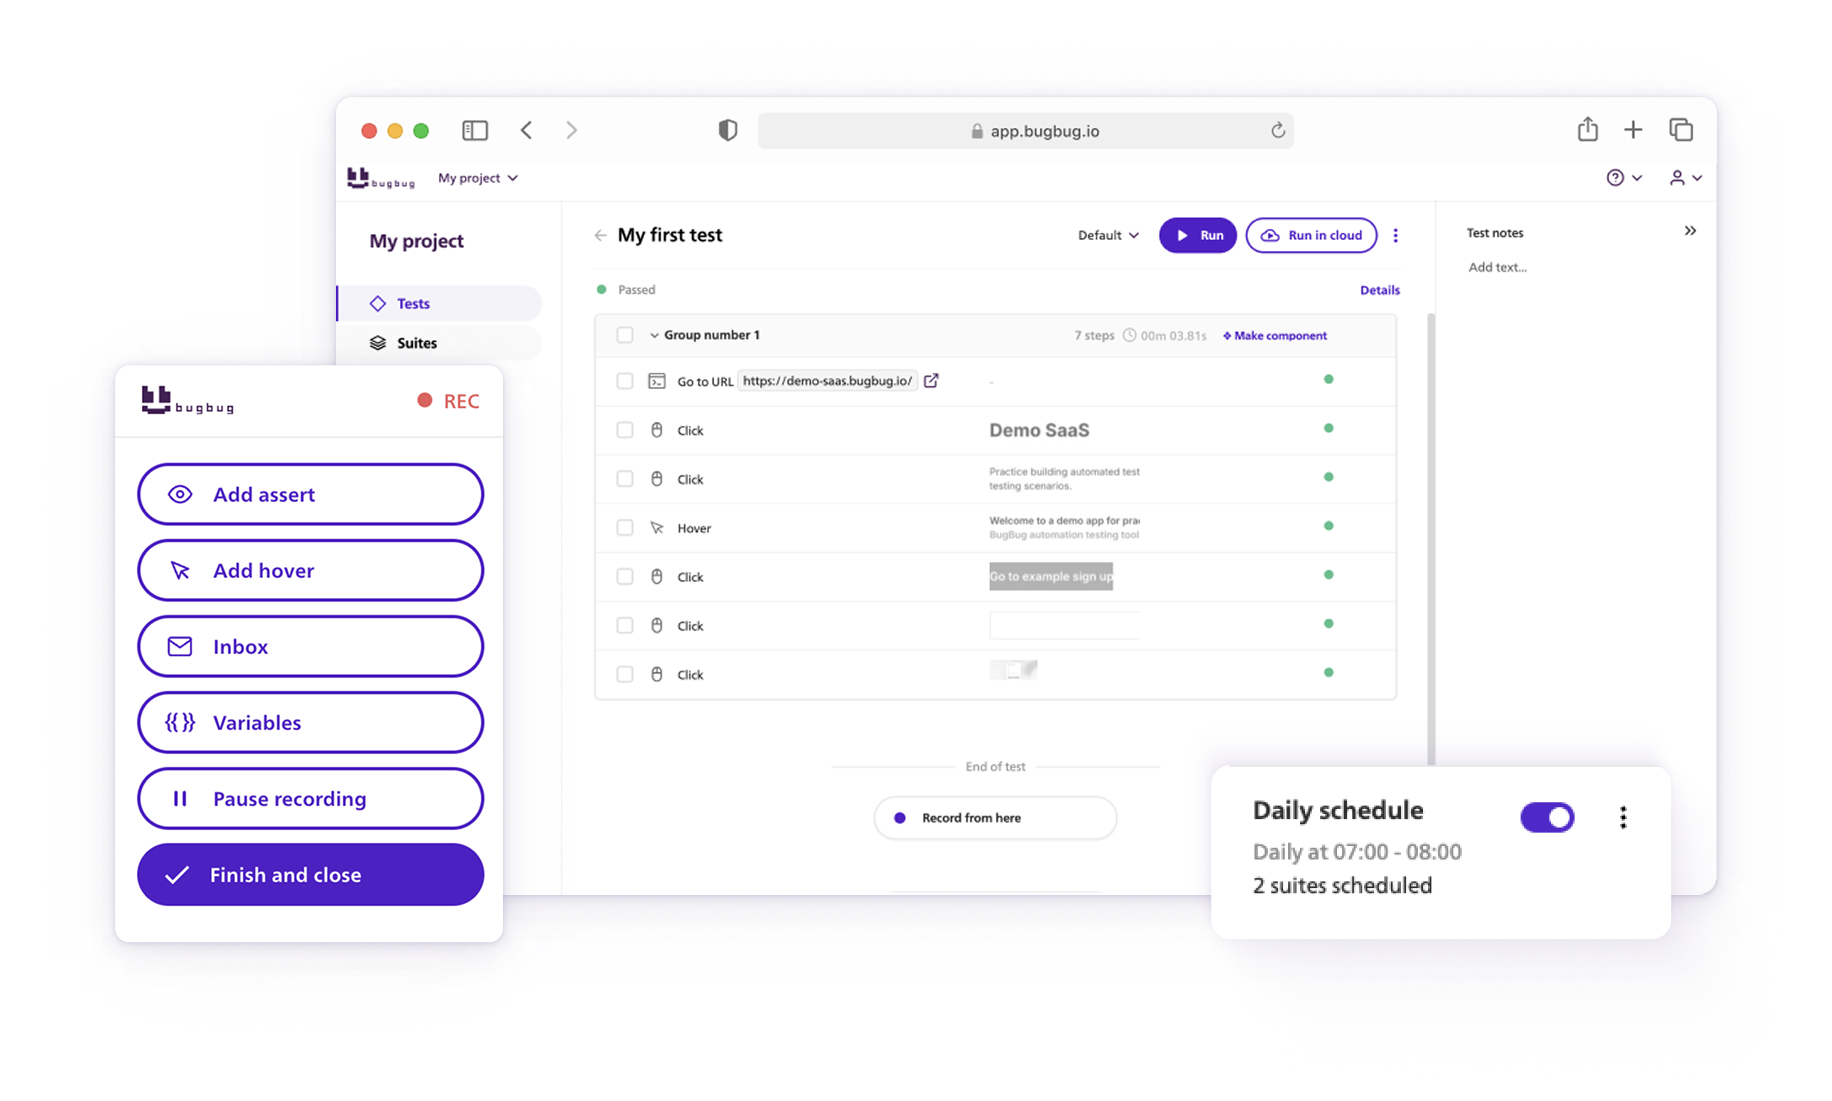
Recorder-based tools are particularly useful when the person who discovers the bug can turn the same reproduction path into an automated test. BugBug's Record and Play Automation Tools guide explains that model in more detail.
Automation shouldn't automatically update a Jira issue to Verified merely because one script passed unless the team's workflow explicitly treats that result as sufficient evidence. Human ownership still matters.
Automate your tests for free
Test easier than ever with BugBug test recorder. Faster than coding. Free forever.
Get started
The life cycle slows down quickly when developers can't reproduce a defect.
ISTQB's Foundation Level syllabus includes information such as the test object and environment, reproduction details, expected and actual results, severity, priority, status and supporting evidence among typical defect-report data.
A useful practical report contains at least these 8 fields:
For reusable testing documentation, see BugBug's Test Case Template.
A fast defect workflow starts before the issue becomes Assigned.
/checkout returned HTTP 500" rather than "Backend database is broken" unless you've actually established the root cause.For a broader pre-release checklist, see BugBug's QA Checklist for Website Testing.
Let’s take an example of a bug found in an e-commerce website:
Consider an ecommerce site where removing an item from the cart occasionally leaves the old total visible at checkout.
This example shows why the defect life cycle needs a loop. The first fix can fail verification without the workflow itself failing.
The software testing bug life cycle is an essential part of the software development process. Each stage of the cycle ensures that bugs are systematically tracked, resolved, and verified, leading to a high-quality software product. Whether the defect is fixed by the developer, deferred, or rejected, following a structured workflow helps ensure efficient software quality and smooth project management.
The entire bug life cycle is a collaborative effort between the testing team, development team, and project managers, all working to resolve and deliver a reliable and functional software product.
The bug life cycle is the sequence of statuses a software defect follows from initial reporting through investigation, fixing, retesting and closure. A typical path is New → Assigned → Open → Fixed → Retest → Verified → Closed, with branches such as Reopened, Deferred or Rejected.
Jira doesn't require one specific bug life cycle. Teams configure workflows using statuses and transitions. A common Jira defect workflow might use New → In Progress → Ready for QA → QA → Done, with a transition back to Reopened when verification fails.
Usually, yes. QA teams commonly use the terms interchangeably. Some standards and organizations prefer “defect” or “anomaly” because those terms cover a wider range of software discrepancies than coding bugs alone. If you're unsure about the terminology itself, start with Bug vs Defect: What's the Difference?.
Deferred means the team has confirmed the defect but intentionally postponed the fix. This can happen when impact is low, a release is approaching, the affected feature will soon change or the fix costs more than the current business risk justifies.
QA reopens the defect and returns it to development. The team investigates why the proposed fix didn't resolve the complete issue, implements another correction and repeats the retest cycle before verification and closure.
Defect leakage measures defects that escape the testing stage where the team expected to find them and are discovered later, often in production. A commonly used formula divides escaped defects by total relevant defects and expresses the result as a percentage.
Happy (automated) testing!
Your next release. Properly tested.
Join 1,200+ QA teams that automated their regression coverage with BugBug.

Dominik Szahidewicz is a Software Quality Evangelist specialising in quality assurance, test automation, and modern software testing practices. He creates practical, research-driven content that helps QA professionals, developers, and product teams improve test coverage, automate repetitive testing, and release more reliable web applications.
Drawing on his experience in technical writing, data analysis, and application consulting, Dominik translates complex testing concepts into clear, actionable guidance. His areas of interest include end-to-end testing, no-code test automation, regression testing, and the use of AI in software quality assurance.

Senior software engineer at BugBug, where he's spent 6 years helping shape the product. He's a T-shaped developer skilled in frontend with React and TypeScript, browser extensions, backend work, and building AI agents and tooling. His strengths also include UX instincts, a product-minded approach, and process automation.
Join thousands of QA experts. Subscribe to our newsletter.
Get more testing tips and product related content. Zero spam.
Discover the best free test management tools that managers can use to maintain test suites and adopt agile test management best practices in 2026.
Are AI testing tools worth the hype? The integration of AI into software testing is transforming how we approach quality assurance.
Discover the ultimate guide to the best DevOps testing tools for 2025. Automate your testing process and achieve continuous software delivery.
Explore the top functional testing tools and frameworks in 2026 in this guide. Choose the best tool to streamline your testing process.
In this guide we will look at the history of the Agile Testing Quadrant, its uses and limitations. We will also discuss attempts to modernize them.
Discover essential accessibility testing tools and software in our guide. Learn how to make your applications accessible for everyone.
Discover essential business tools for startups. Read the article to find the right tools for your success.
Codeless automation testing tools: we cover who each tool is built for, where it genuinely falls short, and which teams should skip it.
Searching for the best web test recorders for automated browser testing? Discover essential tools in our guide.